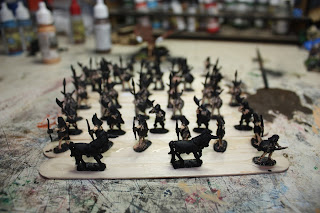
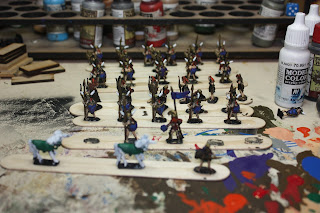
Trouble is I needed to do 45 models in 4 days! I did it and here is how and the results.
I started by tiding up the models filing and clipping of flack metal and from my chosen manufacture sadly there was a lot at the end i had 100g's for white metal left in a bag to melt down.
After clean up and spraying i looked at my army to do as i was adding on to an army i had to have a think about how was the quickest way to do this.
When I released the only way to paint this army in time was to batch paint the army i wrote my self a note with a time line.
My note had my colour pallet so i didn't expanded it and add more time to the task at hand.
so Tuesday was prep,Wednesday was spray and stick on lolly pop sticks that i got off Ebay a while ago.
Thursday was to paint and Friday was to paint and base finally Saturday was to base. at the time i thought that was a very tight scheduled and that if i wasn't careful i would miss it completely.
When you pick a pallet try to wright it down some were if you ever come back to adding on to that army.
After checking my old figures to my paints I pulled them out form the paint rack and put them to the side.
So this is the start of batch painting use lolly pop stick and PVA your model's to the stick with enough space to paint in between each model and you find if a little finicky at time's it will speed things up.
Then you pick a colour and you start do every figure in that colour and then move on to the next in hath an hour i had started the burnt umber base cote for there flesh and gone over the top with a drybrushed flat flesh tone.
The results are here the army looks childish in its painting but its matching up to my other figures which i painted Before i learned how to do a better job at 15mm figures.
This is the army just before its gets fully based.
Basing the army goes in 4 stages cover in Jarvis fine cork chippings wash with a ink wash and then dry brush a beige and then add some green flock.


No comments:
Post a Comment